These incredibly realistic and totally delicious Meringue Mushrooms are definitely something you can create! There are perfect for topping a Bûche de Noël or Yule Log cake, as an addition to your Gingerbread House, or to anything else you dream up!
Recipe and article courtesy of Stella Parks, Bravetart. Check out her cookbook: BraveTart: Iconic American Desserts. The recipes in Stella's book aren't gluten-free, but they provide lots of ideas for converting to GF!
The first time I ever held a piping bag, I made Meringue Mushrooms.
We weren't all creating meringue mushrooms in high school.
Despite living in Kentucky (French population: 0), at sixteen years old I’d gotten it into my head to make a Yule Log. Like most teenagers, I spent a lot of time at the mall. But I always wound up at Williams-Sonoma rather than…I have no idea. I can’t even guess where the cool kids were. Again: I was at Williams-Sonoma.
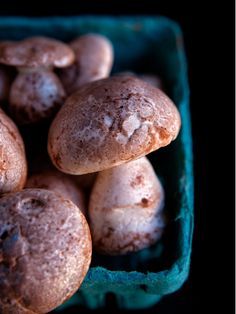
Thus in 1998 I witnessed a holiday demonstration consisting almost entirely of this lady in a green apron pronouncing the heck out of Bûche de Noël while sticking meringue mushrooms all over a preassembled cake. It may not have even been a real cake, but it was the exact sort of marketing pressure I’d spend the rest of my life caving to.
I went home with a Holiday Baking book, my first canvas piping bag, a tube of marzipan, and a tin of mulling spices. The lady in the green apron may not have known much French, but she knew a thing or two about upselling.
Those mulling spices are still in my parents pantry, and I can’t tell you anything about how that cake turned out, but the meringue mushrooms? Ridiculously perfect. I have cousins who still remind me about the time I put mushrooms on a cake.
The effort-to-reward ratio is out of control. So long as you’ve got a piping bag, you don’t have to have any skill or experience in the kitchen. Whip some eggs, squeeze a bag, and suddenly everyone at the Christmas party is freaking out over fake fungus.
For some reason, the glee of that gotcha-moment never gets old.
Your Yule Log Cake needs mushrooms, folks.
If putting “dirty” mushrooms all over a cake doesn’t sound like your idea of Holiday Cheer, check out my pal Heather Baird’s whimsical Meringue Mushroom + Yule Log Tutorial. She makes them colorful and bright, like something straight out of Alice in Wonderland.
See Heather's Black Forest Yule Log recipe here.
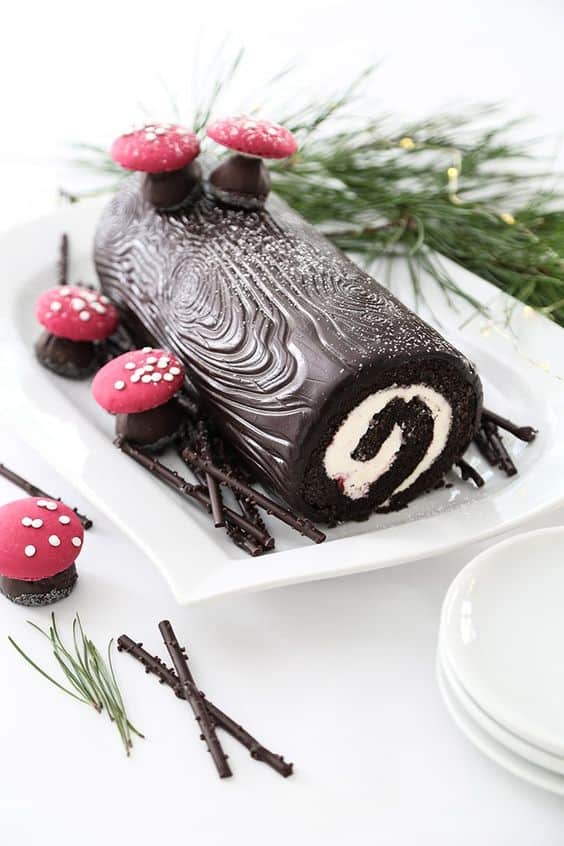
The vanilla bean in the recipe is totally optional, but it’s kind of a bummer when Meringue Mushrooms look so extraordinary but taste so blah. Vanilla bean gives the mushrooms some aromatic oomph, while the little flecks of black add to the visual allure.
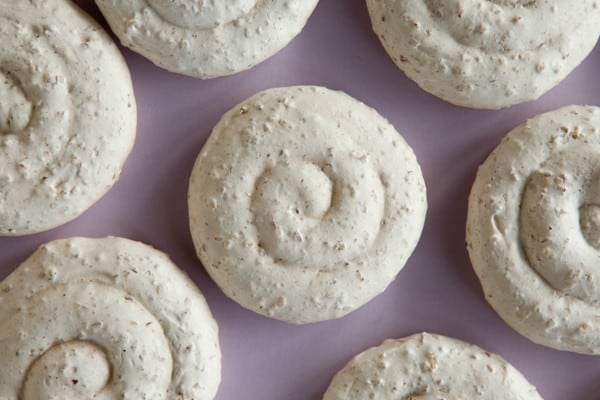
While we're on the subject, consider these Toasted Nut Meringues next!
These meringue cookies are a classic light, airy crispy, chewy cookie - made easy by doing it the Bravetart way.

Meringue Mushrooms
Ingredients
- 2 ½ ounces egg whites from about 2 large eggs
- 1 teaspoon lemon juice
- a hearty pinch of kosher salt
- 3 ½ ounces sugar
- optional: 1 vanilla bean seeds scraped and pod reserved for another project
- optional: brown gel paste
- cocoa powder for dusting
For assembling matcha for “moss”
- 2 ounces dark or white chocolate
Instructions
Making the meringue:
- Preheat the oven to 225°F and line two baking sheets with parchment paper.
- Fit a medium sized piping bag with a ½” plain tip, and have it propped up in a drinking glass. For more details on setting it up, see this post on how to use a piping bag.
- Put the egg whites into the bowl of a stand mixer fitted with a whisk attachment, and beat on medium-low until the whites look very frothy, about 3 minutes. Add the lemon juice and salt, then increase the speed to medium.
- When the egg whites can hold soft peaks, begin sprinkling in the sugar a little at a time; it should take about a minute to add it all. Increase the speed to medium high, and continue whipping until the meringue is thick and can hold very stiff peaks.
- Add the vanilla bean seeds and a tiny speck of brown gel paste, if using, and whip until well combined. That microscopic splash of color (only what will stick to the tip of a toothpick) prevents the mushrooms from turning out shock-white. In the bowl, you won’t even notice a color change, but it really helps!
- Transfer half the meringue to a piping bag.
Piping the mushrooms:
- To pipe the mushroom caps, hold the piping bag a ½” above the baking sheet and give the bag one good squeeze. Relax your grip, lift the piping tip slightly, and jerk the tip quickly to one side (this breaks the meringue “tail,” so the cap doesn’t have a peak or curlicue on top).
- Pipe an assortment of caps, from tiny ½” babies to bigger 3” discs, until you run out of meringue.
- Put a little water in a dish, and use a damp fingertip to smooth out any peaks so the caps are smooth and round.
- To pipe the stems, refill the bag and hold it as before. As you begin to squeeze, slowly lift the bag straight up. After about 1”, stop squeezing, but keep lifting the bag up, up and away. Pipe an assortment of stems, some short and squat and some tall and skinny, and some kinda knocked over to the side. Continue piping until you have a few more stems than caps, to account for breakage.
- If you have extra meringue at this point, pipe more caps and stems to polish it off.
- Bake the meringues until bone dry, about 90 minutes. Cool the meringues to room temperature before proceeding.
Assembling the mushrooms:
- Using a fine mesh sieve, lightly dust the mushrooms caps with cocoa powder. Rub the cocoa into the meringue, using your fingertips to smudge it around. Repeat the dusting and rubbing procedure at least one more time. Once you’ve got a nice base color, you canstrategically darken the caps here and there to make them look more natural.
- Now, use your cocoay fingerstips to smudge up the stems too. They should be lighter than the caps overall, so you don’t need to sprinkle them with cocoa directly. Just dip your fingertips into a patch of cocoa from time to time to keep ‘em dusty. While you smudge the stems, use your fingers to break of the tip of each one, so it’s flat on top.
- Save all the crumbled meringues in a little pile (for the moss).
- I like using melted white chocolate to assemble the mushrooms, because it looks almost invisible, but feel free to use dark chocolate if you’d rather. Dip the very tip of each stem into the chocolate, then stand it upright on a baking sheet and place a mushroom cap firmly on top. If a mushroom needs support, scoot it to the edge of the baking sheet so it can rest again the rim while the white chocolate hardens.
- Meanwhile, transfer the meringue crumbles (and any broken caps or stems) to a small zip-top bag, along with a few teaspoons of Matcha. Shake until the crumbs are evenly coated, then use as “moss” to garnish your Yule Log.
- To keep your creations safe, make a little Mushroom Crate by lining an egg carton with plastic wrap. Nestle a mushroom or two into each cubby, then carefully wrap the whole thing in plastic and set aside in a cool, dry place.
- The meringue mushrooms will keep for a week or two.
Notes
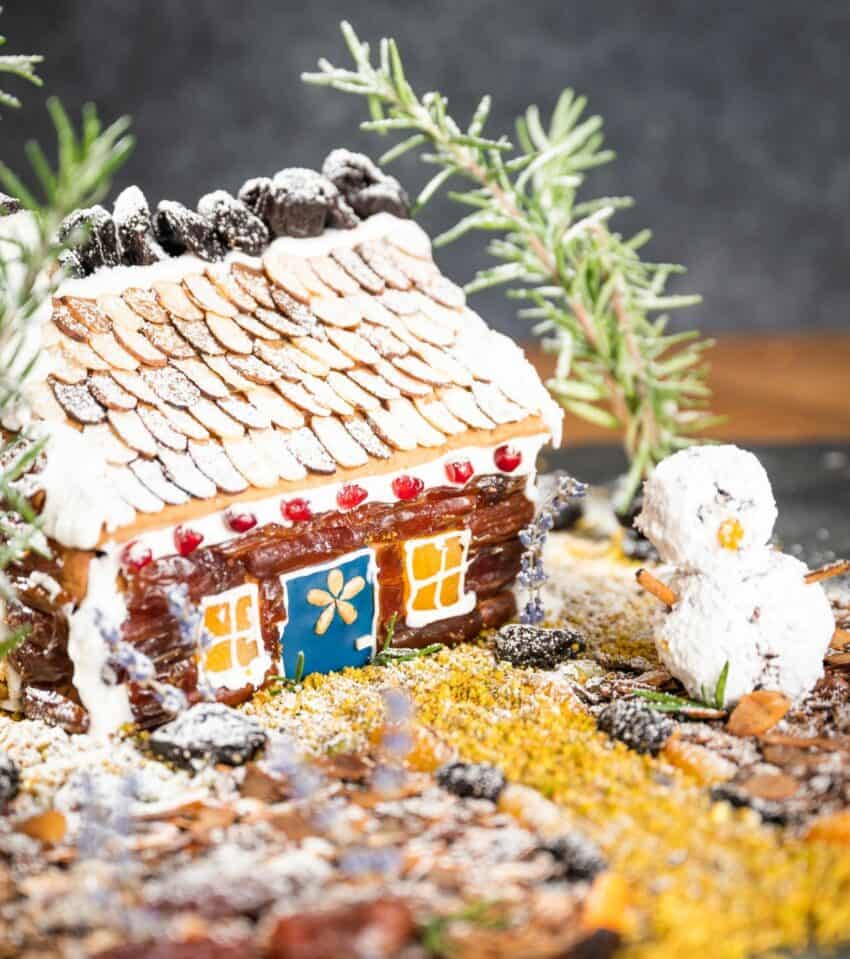
Make a Gingerbread House that dreams are made of
Get the awesome how-to on this fruit-filled gingerbread house here - it's perfect for a holiday celebration or the center of a charcuterie display. Make sure you've got plenty of Royal Icing ready!
Sugar Plums dancing in your head? Try these next:
Once your love sugar plum everything, you'll be ready for more. Here's my recipe for traditional Sugar Plum candy - it's next level delicious, and full of Christmas cheer.




Let Us Know What You Think