This homemade gluten-free Nutella recipe from our friend Tina is a G-Free Foodie favorite. Whip up an easy batch for gifts - or to treat yourself!
 Guys. Remember how I have a rule about not letting myself keep Nutella in the house? Because I have a serious Nutella–addiction issues and am prone to gorging myself on that smooth, creamy, choco-nutty goodness by the spoonful until I make myself sick? Well. I threw that rule right out the window last weekend and made my own gluten-free Nutella. Made. My. Own. Nutella. It was delicious. It tasted like the store-bought stuff I love so much (maybe a tad less creamy/smooth?). And it was super easy to make. Like, really easy. So easy I could definitely make my own Nutella in less than an hour any time I have a craving. This could be…a serious problem.
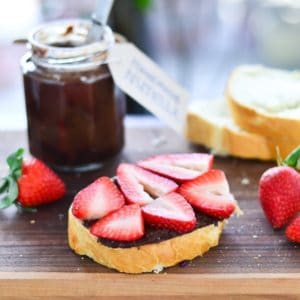
So far, though, I have exercised extraordinary will power and have not given in to my primal chocolate-gorging urges. I’ve eaten exactly two slices of French bread slathered with homemade Nutella, one plain and one covered with strawberry slices (so, you know…healthy). I actually gave away one whole jar of the choco-nutty manna, and the one jar that I kept for myself is only half-empty. That jar is actually currently somewhere in the deep recesses of my pantry, hidden away from view so that I can maybe trick my mind into forgetting that I have it and don’t start putting my Nutella-eating spoon to use. Self control – I’ve got it!
 Of course, now that I’m writing this post and staring at these pictures, I remember exactly where I put that half-eaten jar of homemade gluten-free Nutella, and all I want to do is leave work, fly home, and get down to business. But because I am a mature, intelligent, strong-willed adult, I won’t do that. No matter how creamy, chocolate-y and amazingly delicious this stuff is. Nope. Nope. Not gonna do it. Stomach, stop growling.
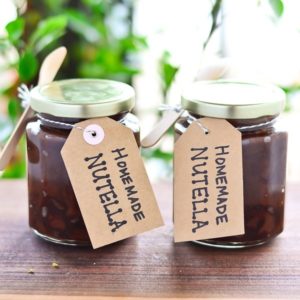
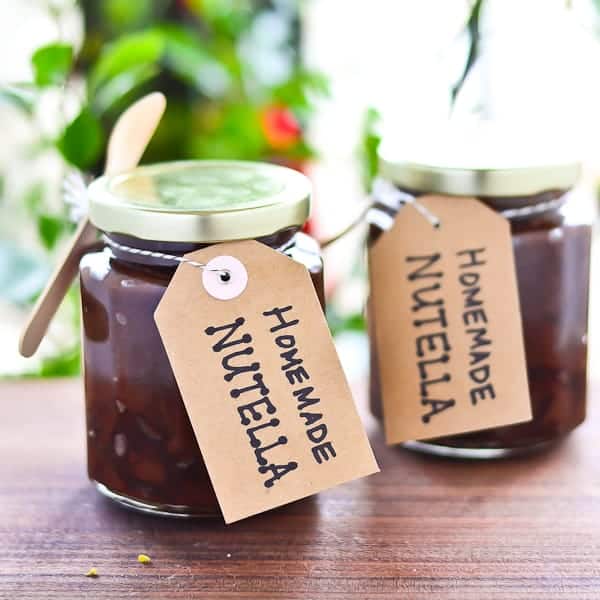
If you are like me, and have a Nutella addiction but want to try your hand at making it yourself at home, just remember that you can scoop all of that temptation into cute little jars and give them out to friends. Forget flavored butters and extracts – this is the perfect holiday (or anytime, really) gift. Friends reading this blog post – it’s my birthday in a few months, and this is what I want, OK? K, thanks!
- Bottles – 9.5oz Multifaceted Glass Jar with Gold Lid from Specialty Bottle
- Tags – Martha Stewart Crafts Kraft Tags

DIY Gluten-Free Nutella
Ingredients
- 1 cup peeled “blanched” hazelnuts
- 2 cups chocolate chips
- 4-5 tablespoon canola oil (Original recipe notes that you use more oil if you’re making during colder months, to keep from becoming too solid)
- 3 tablespoon powdered sugar
- 1 tablespoon cocoa powder
- ½ teaspoon vanilla extract (make sure to read the label for gluten-free)
- 1 teaspoon salt
Instructions
- Preheat the oven to 350°F.
- Toast the hazelnuts on a baking sheet until they’re slightly browned, 12-15 minutes.
- ** If you can only find skin-on hazelnuts, you can either use this baking soda blanching method to peel them before toasting or wrap the warm toasted hazelnuts in a kitchen towel and rub vigorously to brush off as much of the skin as you can.
- Let hazelnuts cool completely.
- Melt the chocolate in a heat-safe bowl in the microwave – medium power, 45 second intervals.
- Stir melted chips until smooth and let mixture cool.
- Add toasted hazelnuts and canola oil to your food processor and grind/pulse until you get a paste.
- Add the sugar, cocoa powder, vanilla, and salt and process until the mixture is smooth.
- Add the melted chocolate and process again until it’s thoroughly blended.
- ** Original recipe said that your homemade Nutella will be runny at first and solidify later. I don’t know if it’s because my kitchen was cold, but my Nutella was never runny – I actually had to add more canola oil to get it to be slightly less thick.
- Use a spoon or spatula to transfer Nutella to your jar(s) and wait until it cools to room temperature to seal the jar.
- ** The spread will keep at room temperature for a few months. If it gets too solid over time, you can heat it in the microwave for a few seconds, or re-blend with an additional tablespoon of oil to thin it out.
- Enjoy! With anything.
Notes
Nutrition
Article courtesy of: Tina, Just Putzing Around the Kitchen


Let Us Know What You Think